DESIGN LEARNING SESSIONS
When Quilted Health acquired Maternity Neighborhood (MN), I was moved to the EHR/Platform team. Half the team consisted of MN employees, the other half were folks from the Quilted side. We were all to work on the MN product. We were given the task to enhance the product with new features and functionality but our understanding was lacking. Part of what we needed to do was to learn current provider workflows, identify pain points, and ensure that we are solving the right problems.
So the job was given to me.
OVERVIEW
I ran a number of learning sessions with providers to drive design work on an EHR product.
WHAT I DID
Developed the format for the design sessions, asked questions, recorded, and synthesized findings into standards for design
MY ROLE
User experience designer
DURATION
Two months
Step 1: What needs to be done?
The clinical product manager, director of technology and the VP of platform came up with a list of features they wanted to improve or add to the existing product. They divided these features into one and two-day design sessions and scheduled them onto the calendar during the course of two months. My job was to set up a format for these sessions and run them.
STEP 2: planning the sessions
Whew. Where do we start?
The first thing that came to mind is why. Why do we place referrals? Why do we chart? Why do we need task management? I knew that this was a crucial part of the design process because sometimes the answer is “I don’t know, we’ve just always done it this way”. I wanted everyone in these sessions to think deeply about the why, this is important because it points to the problems we are trying to solve.
From there, we ask who. Who does the this process touch? What are their characteristics? What are limitations they might have (speaking very broadly). This part of the session gets everyone to start thinking not only of their own experience but anyone else along the way.
Then we create our journeys. What starts it? What are the step? Who all is involved and at what points? How do you know the process is complete? And, most importantly, what are the pain points along the way?
And for the final step, I wanted to take the pain points, and synthesize these findings into standards for the new design. These standards will serve as a way to not only to evaluate the finished designs, but will serve as benchmarks along the design process.
STEP 3: MEDIA AND FORMAT

Blurred for confidentiality.
Example Jamboard
The next step in the process was to figure out how we want to run these sessions? We are a mostly remote team so we knew that we’d need to find a way to run these sessions through zoom. I also knew that I would be in town for some work, and wanted to take advantage of that time. So I needed something like a digital white board- a tool that can be used in person or virtually but also allowed anyone to write and move a note. I also wanted something a little more accessible than a real dry erase board. Jamboard seemed to make the most sense. It’s a simple enough tool that anyone could use it and it retained all the notes so that I could refer back to them later. I also loved that I could zoom in with my tired, old eyes. I did think about using Figjam but it would have required more subscriptions. Jamboard works off of google drive which everyone had.
Step 4: Prep the Jamboards
I am not one to really fly by the seat of my pants, so I then prepped the Jamboards for each meeting. This involved making a cover “page”, a blank page to record the whys, an explainer page for journey mapping, a place to hold all the pain points, and a final, blank page to record our standards. I tried to add levity whenever I could because this is a LONG process with a lot of discussion of pain and annoyance. Folks did respond favorably to the silly pain chart below!

Cover page example

Explainer page (this was for internal use so know that if I was working with actual customers, it would have been more formal).
step 5: Let’s go!

Ready to roll! Let’s walk through Task Management so understand how one of these design sessions went.
1. Welcome everyone with a cute, welcome screen.
2. Explore the functions of task management.
What are the whys ? Why do we need it? I called it functions. We placed similar post-its together and condensed everything down to the list to the left.
3. Identify users and assign a color for each user type.
Pink post-its are reserved for pain and orange is for transitions between personnel.
Blurred for confidentiality.
Whew! What a doozy of a map!
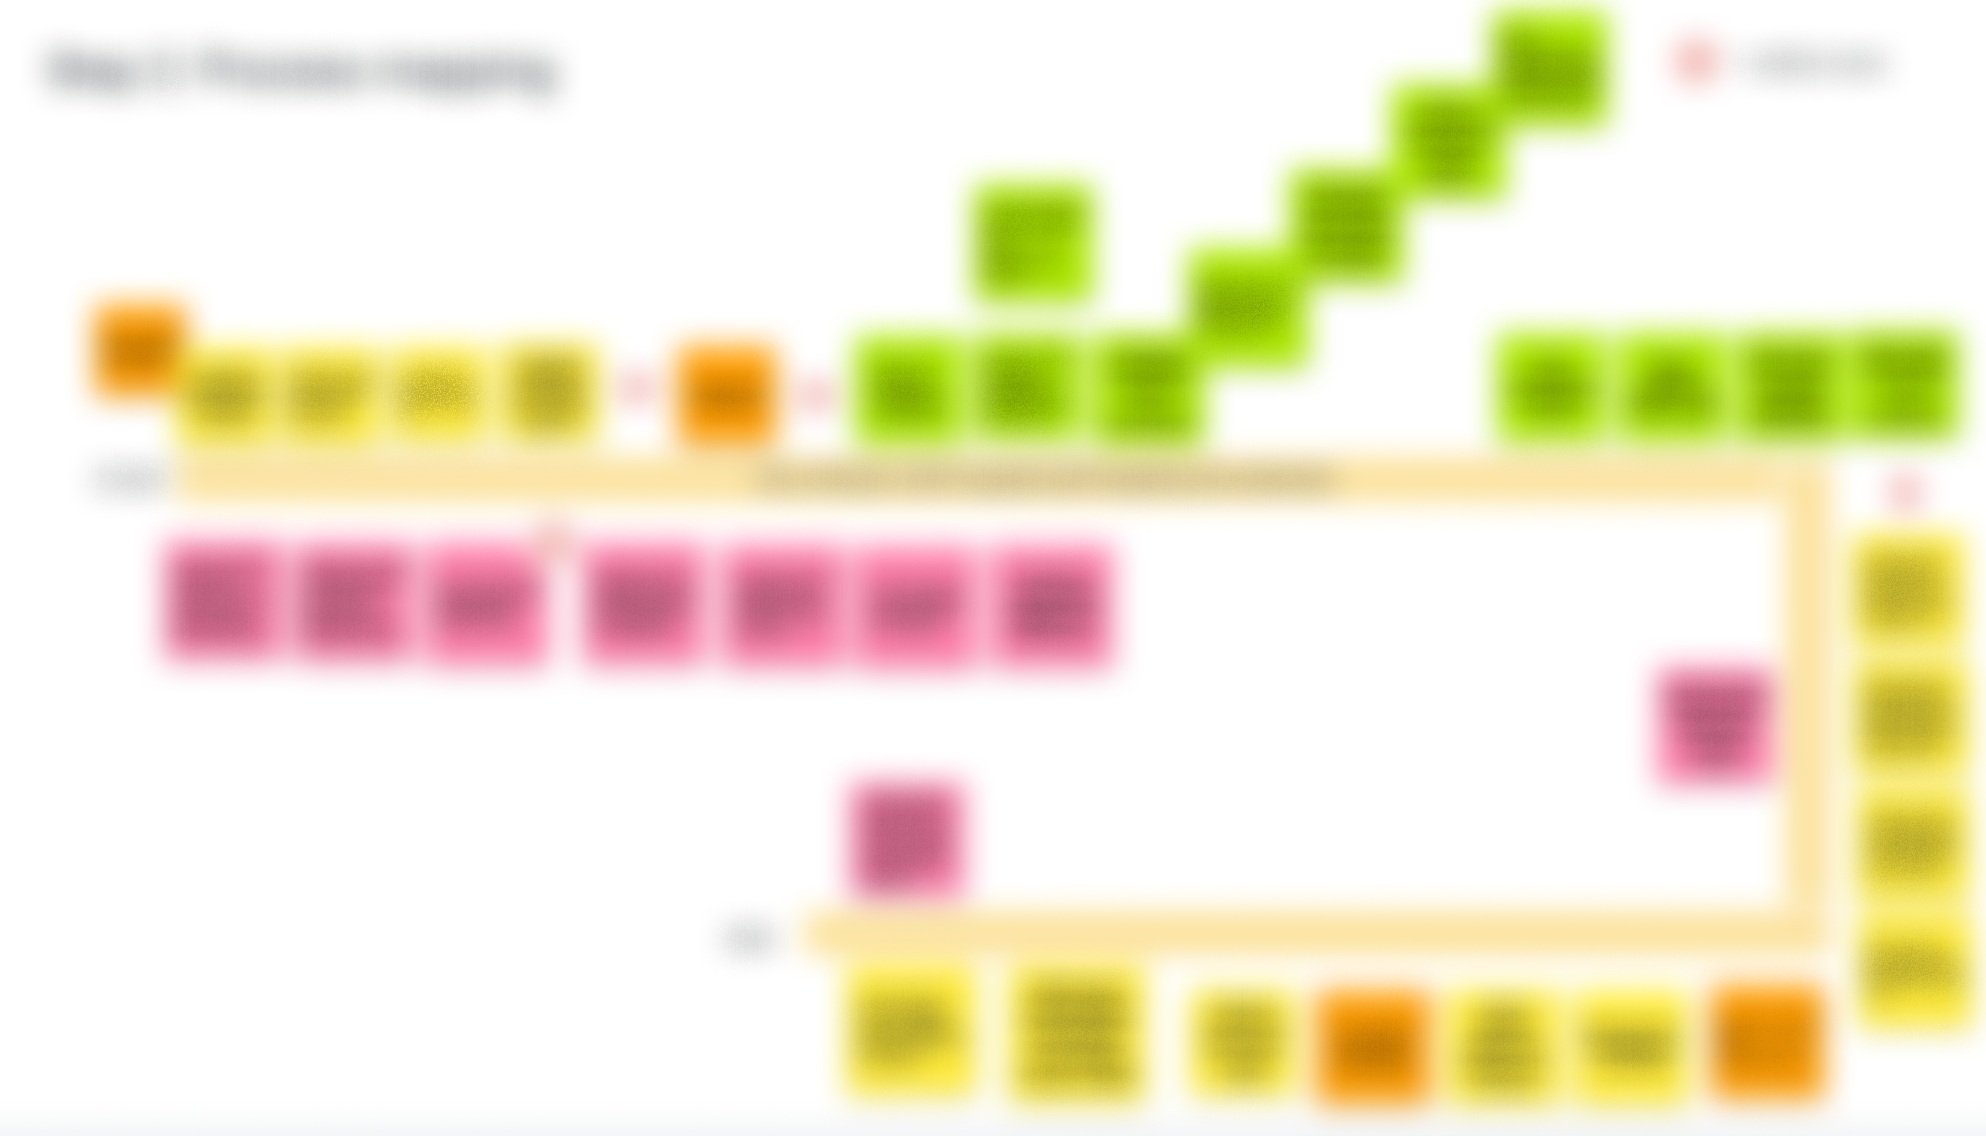
4. Workflow mapping.
Our clinical product manager came up with a list of different clinical workflows for each major topic. Here is an example of one with a workflow map. The participants went step-by-step through the process and discussed their pain points along the way. Some of these flows were very complex.
5. Collect the pain
During a break, I copy and pasted all of the pain post-its into one page. When the team returned they worked together to collect themes.


6. Develop design standards
Together, as a team, we converted the themes to standards. And while some of these themes are standard for user experience, it felt that it reiterating them in this format allowed the participants feel heard.
conclusion
Learning sessions were crucial for designing our EHR product. I created a user-friendly virtual format using Jamboard and an organized approach. This helped us gather valuable insights to guide our work.